For industrial chillers running around the clock in hospitals, data centers, and manufacturing facilities, this hidden, self-accelerating degradation pattern is one of the most consequential maintenance challenges facilities engineers face. A tube sheet compromised by pitting doesn't just cost money to fix — it risks coolant contamination, unplanned downtime, and in worst cases, full component replacement.
This article explains what pitting corrosion is in the context of industrial chillers, why certain components are especially vulnerable, what repair options are available at each stage of damage severity, and how to decide when repair is the right call versus replacement.
Key Takeaways
- Pitting corrosion is a localized electrochemical attack that deepens over time and does not reverse on its own
- Primary causes in chillers include chloride exposure, poor water chemistry, galvanic reactions between dissimilar metals, and stagnant coolant conditions
- Repair options — from mechanical grinding and epoxy fill to full protective coating systems — are matched to pit depth, location, and damage extent
- Early-stage pitting is almost always repairable, but deep or widespread damage at tube-to-tube-sheet joints or weld seams may require component replacement
- Proactive coating programs applied before visible damage develops significantly reduce lifecycle costs
What Is Pitting Corrosion in Industrial Chillers?
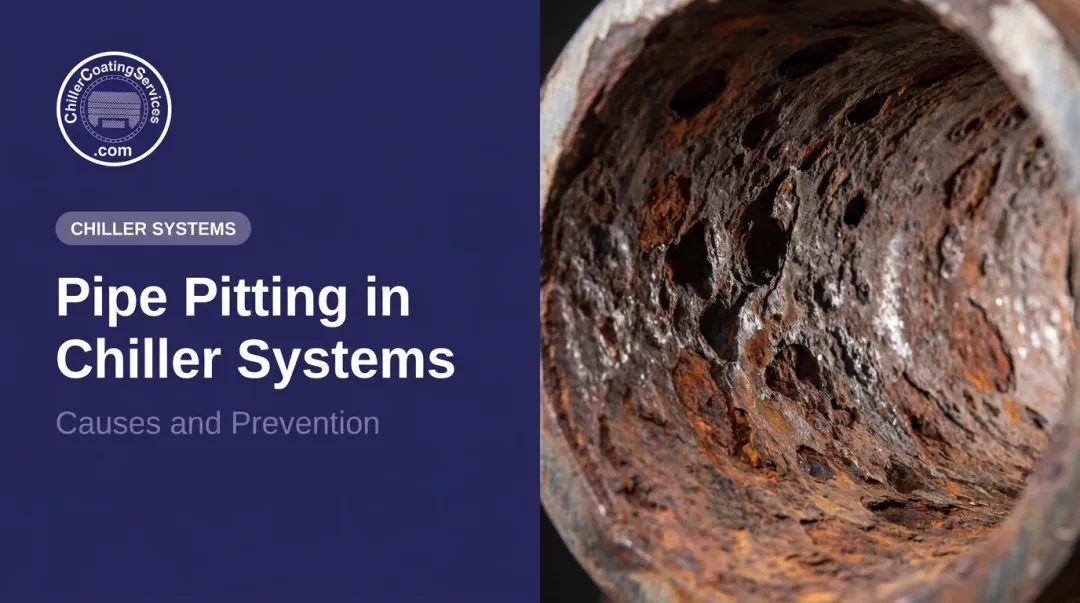
Pitting corrosion is a localized form of electrochemical attack that creates small, deep cavities on metal surfaces rather than degrading them uniformly. Unlike general corrosion — which distributes metal loss across a broad area — pitting concentrates damage at specific points, making it difficult to detect visually until structural integrity is already compromised.
The components most vulnerable in industrial chillers include:
- Tube sheets — large perforated plates anchoring the tube bundle, continuously exposed to circulating water
- Condenser and evaporator tubes — particularly copper alloy tubes in contact with high-chloride or low-pH water
- Water boxes and end covers — enclosures that direct flow across tube sheet faces
What makes pitting especially dangerous is its autocatalytic nature. Once a pit initiates, the chemistry inside becomes increasingly acidic, which accelerates further metal dissolution. The pit grows faster over time, not slower. Left unchecked, even a minor surface defect can penetrate tube wall thickness within a single operating season.
Why Chillers Are Particularly Susceptible
Several conditions specific to chiller operation create ideal environments for pitting to initiate and spread:
Water chemistry issues:
- Elevated chloride levels in condenser water break down passive oxide films on copper alloys and carbon steel
- Dissolved oxygen drives electrochemical reactions at exposed metal sites
- pH outside the recommended 7.5–9.0 range (per Trane's chilled-water-loop guidelines) destabilizes protective films
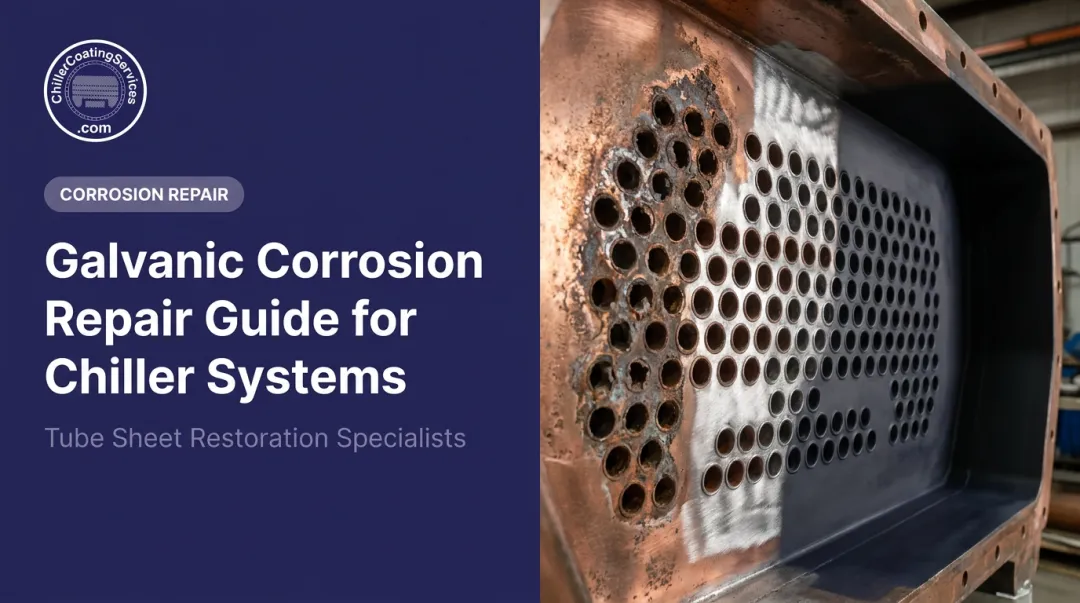
Galvanic corrosion at metal interfaces: Chillers typically use copper or copper-alloy tubes seated in carbon steel tube sheets. These dissimilar metals in contact with circulating water create electrochemical potential differences that accelerate pitting at tube-to-tube-sheet junctions. This is a chiller-specific risk that standard corrosion prevention programs frequently miss.
Operational factors:
- Scale deposits that shield pit sites from oxygen, creating differential aeration cells
- Seasonal shutdowns without proper flushing or wet/dry layup protocols, leaving stagnant water in contact with unprotected metal surfaces
Common Signs of Pitting Corrosion in Chiller Components
Early-stage pitting is often invisible to the naked eye. By the time a maintenance team spots obvious corrosion on a tube sheet face, the damage has typically been progressing for months — which is why knowing what to look for matters before it reaches that point.
Visible and measurable indicators include:
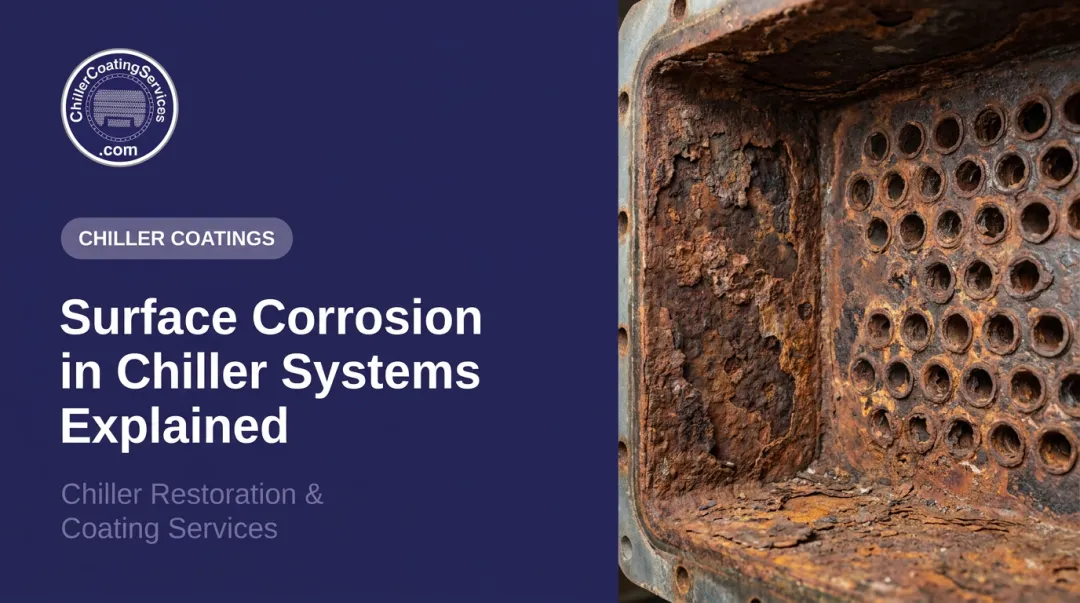
- Small reddish-brown discolorations or shallow depressions on tube sheet faces
- Pinholes in tubes causing refrigerant or coolant leaks
- Increased fouling reducing thermal efficiency
- Unexplained drops in chiller capacity or rising energy consumption without a clear mechanical cause
Inspection methods used to confirm pitting:
| Method | What It Detects |
|---|---|
| Eddy current testing (ECT) | Subsurface tube wall thinning in non-ferrous tubing without pulling tubes |
| Borescope / endoscope inspection | Visual confirmation of tube interior abnormalities |
| Ultrasonic thickness testing | Wall thickness measurement on tube sheets and water boxes (per ASTM E797) |
| Hydrostatic pressure testing | Identifies active through-wall penetrations |
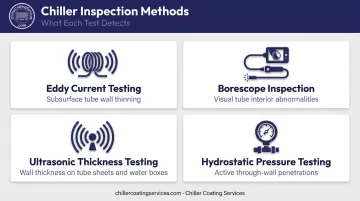
Johnson Controls recommends eddy current testing every 2–5 years for centrifugal chillers. Scheduled inspection catches pitting while repair is still viable. Waiting for a performance drop to trigger an investigation usually means the damage has already advanced past the easiest fix.
Pitting Corrosion Repair Options for Industrial Chillers
Not all pitting damage calls for the same fix. Repair strategy should match pit severity (shallow surface pitting vs. deep penetrating pits vs. through-wall leaks), the specific component affected, and acceptable downtime.
Option 1: Mechanical Removal (Grinding and Polishing)
Shallow, surface-level pits can be mechanically removed by grinding or polishing the affected area. This eliminates corrosion products and restores the surface profile. One critical caveat: grinding alone without subsequent coating leaves the bare metal surface immediately vulnerable to re-initiation. Mechanical removal should always be followed by protective coating application or weld build-up to address the missing metal.
Option 2: Epoxy Fill and Rebuild
Two-part epoxy repair composites fill pits and rebuild lost metal without requiring hot work. The process:
- Abrasive blast the surface to remove all corrosion products
- Press epoxy repair paste into pits, eliminating air voids and ensuring full substrate contact
- Contour the fill to the correct surface profile
- Overcoat with a corrosion-resistant lining
This approach is particularly effective for tube sheet faces and water box surfaces where welding access is difficult or impractical. No hot work means lower safety risk and faster return to service.
Option 3: Protective Coatings and Linings
For tube sheets and water boxes, a 100% solids epoxy coating system handles both repair and ongoing prevention in a single application. Applied over properly prepared surfaces, a quality coating system:
- Fills and seals pitting damage to restore surface integrity
- Creates a non-conductive barrier that eliminates the electrolytic pathway between dissimilar metals, stopping galvanic corrosion at the source
- Protects against future pitting, crevice corrosion, erosion, and cavitation
- Reinforces tube-to-tube-sheet joints — Chiller Coating Services documents push-out strength gains of over 1,000 pounds in some cases following their three-step coating process
Surface preparation is non-negotiable: surfaces must be blasted to a white metal finish (SSPC-SP 5 / NACE No. 1 equivalent) before coating is applied. Coating over inadequately prepared surfaces will fail within months.
Quick-cure formulations allow facilities to return chillers to service within a single planned maintenance window.
Option 4: Weld Build-Up or Re-Tubing
When coatings and epoxy fills aren't enough, weld build-up is appropriate for severe, localized pitting on structurally sound components where surrounding material retains adequate thickness. The pitted area is rebuilt to original dimensions using compatible filler material, then post-weld inspected. Full re-tubing — replacing individual tubes or an entire bundle — becomes necessary when pitting has caused through-wall failures across multiple tubes, which is a separate and more extensive scope.
How to Repair Pitting Corrosion in Chiller Components: Step-by-Step
Attempting to repair pitting without proper diagnosis and surface preparation is the most common reason repairs fail prematurely. The sequence matters as much as the materials. Follow these five steps to give any chiller repair its best chance of lasting.
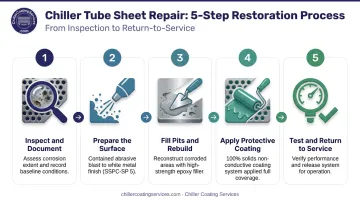
Step 1: Inspect and Document the Damage
Conduct a full inspection to establish what you're working with before anything else:
- Eddy current testing and ultrasonic thickness measurement to assess remaining wall thickness
- Visual and borescope examination to map pit locations across all affected surfaces
- Photographs of all damage areas to document baseline condition
This data determines repair scope and flags any components that need replacement rather than repair.
Step 2: Prepare the Surface
Abrasive blast affected surfaces to a white metal finish (SSPC-SP 5 or equivalent) to remove all corrosion products, scale, and contamination. Vacuum and wipe clean after blasting to remove residual debris. Skipping or rushing this step is the single fastest way to shorten a repair's service life. Proper surface preparation is what makes the difference between a coating that holds and one that fails within months.
Step 3: Fill Pits and Rebuild Lost Metal
Address damage from worst to least severe before any coating is applied:
- Press epoxy repair paste firmly into pits to eliminate air voids and ensure full substrate contact
- Seal through-wall penetrations with fast-curing repair compound before proceeding
- Reconstruct severely metal-depleted areas before applying the topcoat
Step 4: Apply Protective Coating
Apply a corrosion-resistant coating system in two or more coats. Inspect for pinholes between coats and address before the final coat cures. Coating selection must match the chiller's actual operating conditions: temperature range, fluid type, and chemical exposure each narrow the field of appropriate products.
Step 5: Test and Return to Service
Don't return the chiller to operation until testing confirms integrity:
- Hydrostatic pressure testing or leak testing before startup
- Performance monitoring during the first weeks post-repair — track thermal efficiency, operating pressures, and coolant chemistry
- Watch for signs of new pitting initiating in adjacent areas not covered by the repair
Repair vs. Replace: How to Decide for Your Chiller
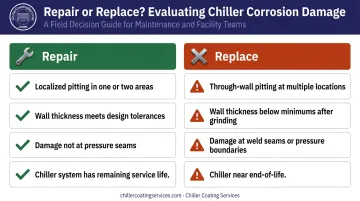
The repair-vs.-replace decision hinges on three factors: the structural viability of the component, the cost comparison between repair and replacement (including downtime costs), and the expected remaining service life of the overall chiller system.
When Repair Is the Right Choice
Repair makes sense when:
- Pitting is localized to one or two areas, not distributed across the tube sheet
- Remaining wall thickness after mechanical treatment still meets minimum design tolerances
- The damage is not at a safety-critical zone such as a pressure seam or primary tube-to-tube-sheet joint
- The overall chiller system is in good condition with meaningful service life remaining
As a general rule, pitting that has removed more than roughly 20% of wall thickness puts repair in marginal territory — get a qualified inspector's measurement before proceeding.
In these scenarios, professional coating application can restore structural integrity, improve push-out strength at tube-to-tube-sheet joints, and extend service life at a fraction of replacement cost. The DOE estimates a 153-ton water-cooled centrifugal chiller replacement at a median of $553,832. Against that number, targeted repair and coating investment is often the faster, lower-risk path to recovered uptime.
When Replacement Is Necessary
Not every chiller can be saved with repair alone. Replacement becomes the correct call when:
- Through-wall pitting has occurred at multiple locations simultaneously
- Residual wall thickness falls below minimum tolerances after grinding
- The tube sheet or water box is structurally compromised at weld seams or pressure boundaries
- The chiller is already at or near end-of-life and repair costs cannot be recovered against remaining service life
Facilities managers facing this decision should get a qualified inspector's assessment before committing either way. Inspection fees are minor compared to the cost of replacing a unit that could have been restored — or patching one that needed full replacement.
Preventing Future Pitting Corrosion in Your Industrial Chiller
Water Chemistry Management
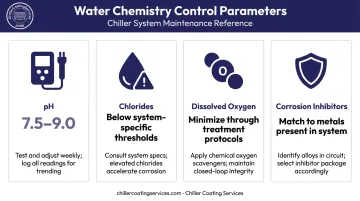
Water chemistry is the single most impactful prevention measure. Target parameters:
- pH: 7.5–9.0 for condenser water (Trane specification)
- Chlorides: Below established thresholds for the specific metals in your system
- Dissolved oxygen: Minimize through proper treatment protocols
- Corrosion inhibitors: Match to the metal types present in the system
Systems with glycol coolants require separate monitoring. Degraded glycol produces organic acids that accelerate pitting, a failure mode that's easy to miss without routine glycol testing.
Scheduled Inspection and Proactive Coating
- Annual or biannual eddy current testing and borescope inspection of tubes
- Proactive protective coating on tube sheets and water boxes before significant pitting develops — not after leaks appear
- Proper flushing and wet layup or dry layup protocols during seasonal shutdowns
Chiller Coating Services structures preventive coating programs around each facility's maintenance calendar: fall/spring shoulder seasons for commercial buildings, summer break for schools, N+1-aware scheduling for data centers, and low-load periods for hospitals.
Their three-step process — deep cleaning, contained abrasive blasting to white metal finish, and 100% solids coating application — fits within a single planned maintenance window with minimal operational disruption.
Staff Training and Documentation
Maintenance teams are the first line of defense against pitting. Three habits make the biggest difference:
- Recognize early-stage pitting signs during routine inspections
- Document findings consistently over time to track progression rates
- Flag water chemistry deviations before they create conditions for pitting initiation
Many pitting failures trace directly to deferred water treatment or skipped inspections. Consistent protocols prevent both.
Frequently Asked Questions
What does pitting corrosion mean?
Pitting corrosion is a localized electrochemical attack that creates small, deep cavities on a metal surface rather than degrading it uniformly. Once initiated, it is self-sustaining — the chemistry inside the pit accelerates further metal dissolution — making it particularly dangerous because significant structural damage can occur before it is visible.
What causes pitting corrosion in industrial chiller tube sheets?
The four primary causes are chloride ions in condenser water breaking down passive oxide films, galvanic corrosion between dissimilar metals (such as copper tubes against steel tube sheets), poor water chemistry control (low pH, high dissolved oxygen), and stagnant coolant during seasonal shutdowns or system downtime.
How do you fix pitting corrosion?
Severity determines the starting point — shallow pitting typically begins with abrasive blasting and epoxy fill, while deeper damage may require weld build-up or component replacement first. In all cases, the process ends with a corrosion-resistant protective coating to restore the surface and prevent recurrence.
Can pitted stainless steel be repaired?
The original metal cannot be restored, but shallow pits can be mechanically removed and rebuilt with epoxy, then protected with a corrosion-resistant coating. Deeper pitting that compromises wall thickness may require weld build-up or component replacement depending on remaining material thickness.
How does pitting corrosion affect chiller efficiency?
Pitting creates surface roughness on tube sheets and tube interiors that increases fouling and reduces heat transfer efficiency, forcing the chiller to consume more energy to reach target cooling output. In severe cases, tube wall thinning leads to leaks that contaminate refrigerant or coolant circuits, causing system failure.
When should a pitted chiller tube sheet be replaced instead of repaired?
Replacement is the right call in any of these situations:
- Through-wall pitting has occurred across multiple locations
- Remaining wall thickness falls below design minimums after mechanical treatment
- Damage is concentrated at pressure seams or structural joints
- The chiller is near end-of-life and repair costs exceed recoverable value